
I have long wanted a place in our back yard where to grow vegetables. For a long time I thought I do not have room for any vegetables, but actually once I started to think how we use our back yard and how things are placed in it I figured we do have room. With the vegetable beds I was able to even remove an area from our back yard where the grass had been really annoying to cut.

It was an area with one apple tree and two black currant bushes which of other never really made any berries and the berries it made never tasted very sweet. I think that bush had grown from a seed and did not have the same good genes as the bush next to it. Also those bushes and the apple tree together with the mock orange bush "fence" were all planted not in a row but to a zig zag shape and grass grew in between them and that made the mowing of the lawn tricky and annoying.
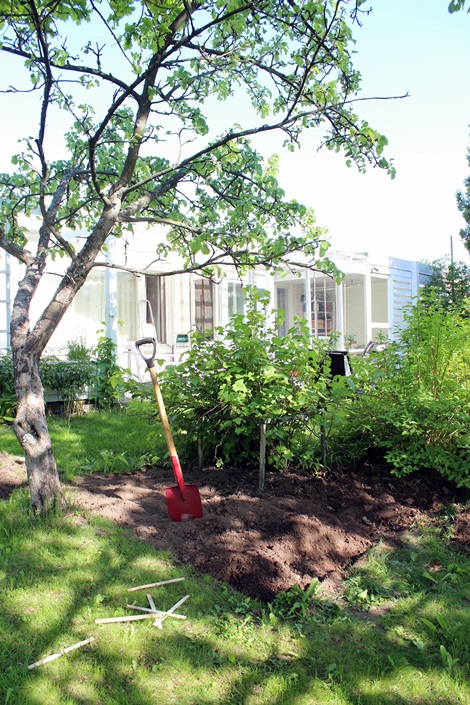

I had removed the bad tasting black currant bush earlier (there was a bit bare spot on the first picture) and then also removed the grass from a fairly large area under the apple tree. Once I had done that I covered the area with a cloth that prevents any plants growing through it (I do not know the name of that cloth in English, and can't actully remember the name of it even in Finnish). I had some bricks that were left over from our front yard renovation and placed those on the edge of the area.

For the raised beds I went to the lumber yard and had them cut me some heat treated wood. I built two wooden boxes from the wood. I did a bit of a mistake with the measurements of the boxes because I measured the area of the boxes with out the bricks, I kind of forgot I had planned to place the bricks to the edges. So the gap between the boxes became way smaller than I had planned and now the gap is really not as functional as it should be, but I don't think that is a big issue. On the bottom of the boxes I stapled some wire net to prevent any rodents from getting in and then I again added another layer of that cloth to stop the soil from running out. I think the first layer of cloth I placed was a bit useless but I did not want to remove it afterwards.
I made the boxes deep, because those are more practical that way. But that meant that I needed huge amount of soil to fill the two boxes. Luckily because of the pipe renovation we had on the fall and on spring they had finished the work and left the front yard bare because that is what I wanted them to do. I have a great plan for the front yard and luckily it does not require soil. So I took some soil from the front yard and moved it to the back yard. I also emptied the compost bin to the bottom of the boxes.


I think the raised beds I made are really elegant and I love the whole area under the apple tree, I also think the woodchips I added under the tree and on the sides of the boxes make the whole place look really finished. I need to sow some grass seeds on the empty spots and then the area is perfect.


I made the boxes deep, because those are more practical that way. But that meant that I needed huge amount of soil to fill the two boxes. Luckily because of the pipe renovation we had on the fall and on spring they had finished the work and left the front yard bare because that is what I wanted them to do. I have a great plan for the front yard and luckily it does not require soil. So I took some soil from the front yard and moved it to the back yard. I also emptied the compost bin to the bottom of the boxes.
I think the raised beds I made are really elegant and I love the whole area under the apple tree, I also think the woodchips I added under the tree and on the sides of the boxes make the whole place look really finished. I need to sow some grass seeds on the empty spots and then the area is perfect.
Great job Leena! Can't wait to see what you will grow.
ReplyDeleteThanks! I can show a picture of the veges later, I just have potato and cucumber there now and since I just planted them, they don't look too good yet.
DeleteThose are really good looking. I've never seen raised beds that I thought looked nice, but yours look so modern and clean. The edging and wood chips do finish it very nicely.
ReplyDeleteWow thanks Christina. I think it's the height that makes these boxes impressive. If they would be lower they might look bit more plain.
Delete